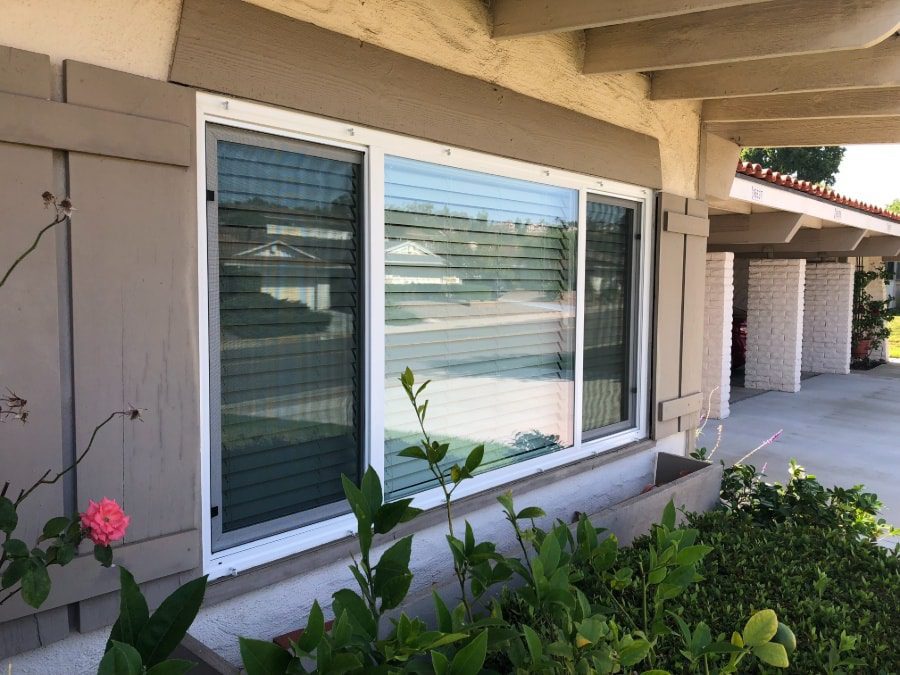
Window screens are essential components of a home, offering protection from insects and debris while allowing fresh air to flow in. Over time, however, screens can wear out, tear, or simply lose their appeal. Replacing your window screens can improve the functionality and aesthetics of your windows. This guide will cover the key aspects of Replacement Window Screens, from the types of screens available to installation tips.
Why Replace Your Window Screens?
Window screens naturally wear out over time, and here are some common reasons you might need to replace them:
- Tears or Holes: Damaged screens can’t keep bugs out, compromising their effectiveness.
- Aesthetic Improvement: Old, faded, or stained screens can make your windows look unsightly.
- Better Ventilation: New screens can improve airflow, especially if your old ones are clogged or damaged.
- Seasonal Needs: Depending on your region, you may want to swap out screens for seasonal features like solar protection or heavy-duty screens.
- Energy Efficiency: Modern screen options can block UV rays, reduce heat, and even contribute to energy savings.
Types of Window Screens
There are various types of window screens available, each offering unique benefits. Depending on your specific needs—whether it’s durability, visibility, or energy efficiency—you can choose the most suitable screen material.
1. Fiberglass Screens
Fiberglass screens are a popular choice for homeowners due to their affordability and durability. They offer good visibility and are easy to install.
- Pros: Inexpensive, rust-resistant, flexible.
- Cons: Prone to tearing and not as durable as other options.
2. Aluminum Screens
Aluminum screens are more durable than fiberglass and are ideal for homeowners looking for a long-lasting solution.
- Pros: Stronger than fiberglass, resistant to corrosion.
- Cons: Prone to dents and creases, can be more expensive.
3. Pet-Resistant Screens
If you have pets, these screens are designed to withstand scratching and other potential damage from animals.
- Pros: Extremely durable, prevents damage from claws.
- Cons: Slightly more expensive and less flexible than fiberglass screens.
4. Solar Screens
Solar screens block UV rays and can significantly reduce the amount of heat entering your home, making them ideal for hot climates.
- Pros: Reduces heat and glare, energy-efficient.
- Cons: Darkens the view slightly, costs more than regular screens.
5. Retractable Screens
Retractable screens can be pulled across windows or doors when needed and retracted out of sight when not in use.
- Pros: Can be hidden when not needed, versatile.
- Cons: Higher cost and requires installation.
How to Measure for Replacement Window Screens
Before you purchase new screens, it’s important to get the correct measurements. Here’s how to measure accurately:
- Measure Width: Measure the inside of the window frame from left to right. Measure in three places (top, middle, and bottom), and use the smallest measurement.
- Measure Height: Measure from the top of the window frame to the bottom. Again, take three measurements and use the smallest one.
- Depth Measurement: Ensure you also measure the depth of the window frame to accommodate the spline and the screen material.
Hiring a Professional vs. DIY Installation
You can either install window screens yourself or hire a professional, depending on your comfort level and the complexity of the job.
DIY Installation:
- Cost: Installing screens yourself can save money. Materials are generally affordable, and a basic screen kit costs between $15 and $50 per window.
- Skill Level: Basic DIY skills are needed for measuring and installing, making it a manageable project for most homeowners.
- Time: Replacing a single screen takes about 30 minutes to an hour, depending on the complexity of the frame.
Hiring a Professional:
- Cost: Professional installation can range from $50 to $150 per window, depending on the type of screen and size.
- Precision: Professionals guarantee an accurate fit, and they often provide warranties on their work.
- Convenience: A professional can handle multiple windows quickly, saving you time and effort.
Maintenance Tips for Window Screens
Once you’ve replaced your window screens, it’s important to maintain them to ensure longevity.
- Regular Cleaning: Use a vacuum or a soft brush to remove dust and debris. For deeper cleaning, remove the screens and gently wash them with soap and water.
- Inspect for Damage: Periodically check your screens for any tears, sagging, or holes. Small tears can be repaired with patch kits available at hardware stores.
- Protect Screens from Pets: If you have pets, invest in pet-resistant screens to avoid damage.
Cost of Replacing Window Screens
The cost of replacing window screens can vary based on the material and the size of the window. Here’s a rough estimate of costs:
- Fiberglass Screens: $15–$50 per window
- Aluminum Screens: $25–$75 per window
- Pet-Resistant Screens: $30–$100 per window
- Solar Screens: $50–$150 per window
- Retractable Screens: $100–$400 per window (includes installation)
Benefits of New Window Screens
- Pest Protection: New screens effectively keep out insects while allowing air to flow in.
- Improved Appearance: Fresh screens can make your windows look cleaner and newer.
- Energy Savings: Solar screens and other high-tech options can help lower cooling costs in warm climates.
- Durability: Modern materials like aluminum or pet-resistant screens are highly durable and long-lasting.
Conclusion
Replacement Window Screens is a simple home improvement project that can make a big difference in comfort, appearance, and energy efficiency. Whether you choose fiberglass for its affordability or opt for a durable aluminum or pet-resistant screen, the key is to measure accurately and follow proper installation techniques. With the right screen, you’ll enjoy better ventilation, pest protection, and a more visually appealing home.

